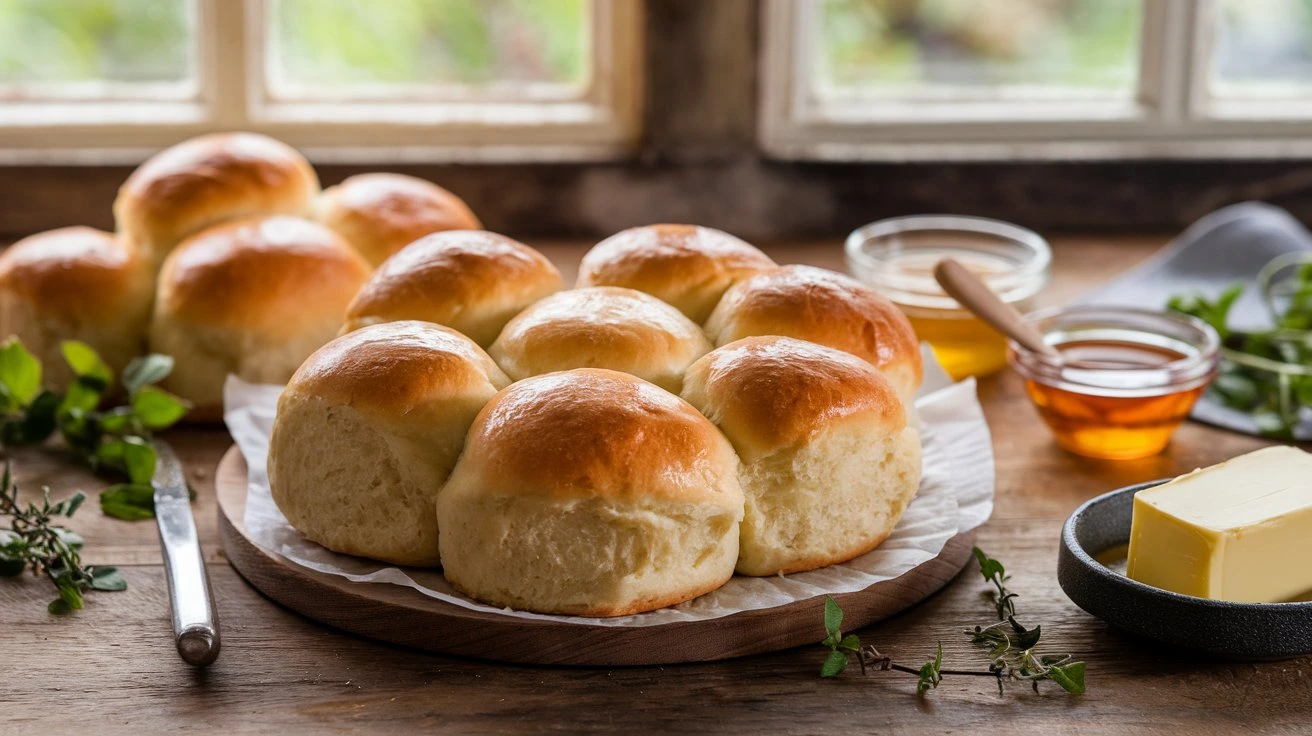
Picture this: You walk into your kitchen after a busy day, and the enticing aroma of freshly baked bread wraps around you like a warm hug. There’s something truly comforting about homemade bread, especially when you can whip it up in a flash. No yeast dinner rolls are the perfect solution for those moments when you crave the warmth and satisfaction of bread but don’t have the time to wait for dough to rise.
Imagine gathering with family or friends, sharing laughter and stories, all while breaking bread together. These rolls can be the centerpiece of your meal, transforming even the simplest dinner into a delightful experience. With just a handful of ingredients and minimal prep, you can create these soft, fluffy rolls that are not only easy to make but also utterly delicious.
Whether you’re preparing for a cozy family dinner, a potluck, or just a quiet night in, these no yeast dinner rolls can elevate your meal effortlessly. As you embark on this culinary journey, you’ll find that baking can be both simple and rewarding, bringing joy and comfort to your table without the fuss of traditional bread-making. Let’s dive into the world of no yeast dinner rolls and discover how you can create this delightful treat in no time.
Table of Contents
Understanding No Yeast Dinner Rolls
What Are No Yeast Dinner Rolls?
No yeast dinner rolls are a delightful alternative to traditional bread. Unlike their yeast-based counterparts, which require time to rise and develop flavor, these rolls come together quickly, making them perfect for busy cooks. They are often lighter and fluffier, delivering a comforting texture that complements a variety of meals. You’ll find that the simplicity of these rolls allows you to enjoy freshly baked bread without the wait.
Why Choose No Yeast Rolls?
Opting for no yeast rolls comes with several advantages that make them appealing for any home cook:
- Quick Preparation Time: With no waiting for dough to rise, you can have these rolls ready in about 30 minutes. This is especially beneficial when you need to whip up something on short notice.
- Ideal for Beginners: If you’re new to baking, no yeast rolls are a great starting point. The process is straightforward, allowing you to build confidence in the kitchen without feeling overwhelmed.
- Perfect for Last-Minute Plans: Whether you’re hosting an impromptu dinner or simply want to enhance a weeknight meal, these rolls can be made in a flash, ensuring you always have a warm, homemade option on hand.
By understanding the unique qualities of no yeast dinner rolls, you empower yourself to create delicious baked goods that fit seamlessly into your life. These rolls are not just food; they are a way to bring warmth and connection to your table, making every meal a little more special.
Essential Ingredients for No Yeast Dinner Rolls
Key Ingredients Table
To create the perfect no yeast dinner rolls, you’ll need a few essential ingredients that come together to form a simple yet satisfying dough. Here’s a quick overview of what you’ll need:
| Ingredient | Amount | Purpose |
|---|---|---|
| All-purpose flour | 2 cups | This is the base of your rolls, providing structure and texture. |
| Baking powder | 1 tablespoon | This leavening agent helps your rolls rise without the need for yeast. |
| Salt | 1 teaspoon | Salt enhances flavor, making your rolls deliciously savory. |
| Milk | 1 cup | Adds moisture and richness, creating a tender crumb. |
| Butter | ¼ cup (melted) | Contributes flavor and a soft texture, making your rolls irresistible. |
Optional Add-ins for Flavor
While the basic recipe is fantastic on its own, you can elevate your no yeast dinner rolls by incorporating a few optional add-ins:
- Herbs: Fresh or dried herbs like rosemary or thyme can infuse your rolls with delightful flavors, making them even more aromatic.
- Cheese: A sprinkle of cheddar or parmesan can add a savory kick that pairs beautifully with various dishes.
- Garlic Powder or Minced Garlic: For those who love a bit of zest, adding garlic will give your rolls a wonderful aroma and taste.
By selecting the right ingredients, you set the stage for creating delicious no yeast dinner rolls that will impress everyone at your table. Understanding these components allows you to experiment and customize your rolls, ensuring they align perfectly with your culinary preferences. Whether you stick to the basics or explore exciting variations, these rolls will undoubtedly become a staple in your kitchen.
Step-by-Step Guide to Making No Yeast Dinner Rolls
Making no yeast dinner rolls is a straightforward process that anyone can master. Follow these simple steps to create warm, fluffy rolls that will enhance any meal.
Preparing the Dough
- Mix Dry Ingredients: Start by gathering your all-purpose flour, baking powder, and salt. In a large mixing bowl, combine these dry ingredients thoroughly. This ensures that the baking powder and salt are evenly distributed, which is key for consistent flavor and rise.
- Add Wet Ingredients: Next, pour in the milk and melted butter. Use a spatula or wooden spoon to carefully combine all the ingredients. You want to combine the ingredients until a dough forms, but be careful not to overmix. Overworking the dough can result in dense rolls, and you want them to be light and airy.
Shaping the Rolls
- Divide the Dough: Once your dough is well mixed, turn it out onto a lightly floured surface. Lightly knead it a few times to form a cohesive mixture. Then, divide the dough into equal portions—aim for about 8 to 10 pieces, depending on how large you want your rolls.
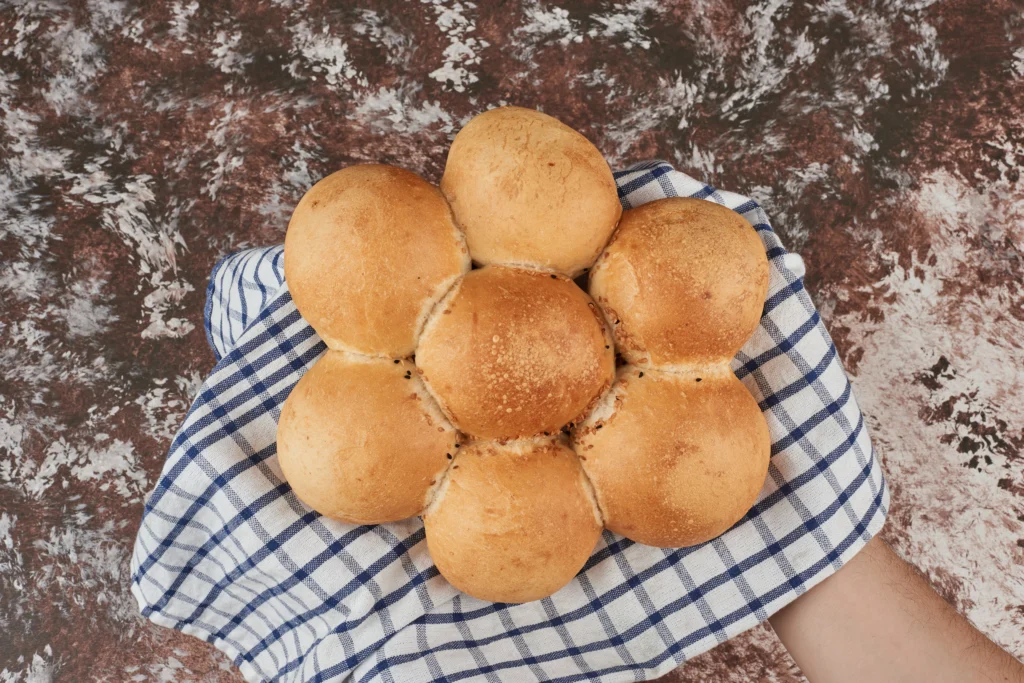
- Roll into Balls: Take each portion and roll it into a ball between your palms. This step is crucial as it creates surface tension, which helps the rolls rise nicely in the oven. Arrange the shaped rolls on a baking sheet lined with parchment paper, making sure to leave space between them for rising.
Baking the Rolls
- Preheat the Oven: Heat the oven to 375°F (190°C). Preheating ensures that your rolls begin baking in the right environment, promoting an even rise and golden crust.
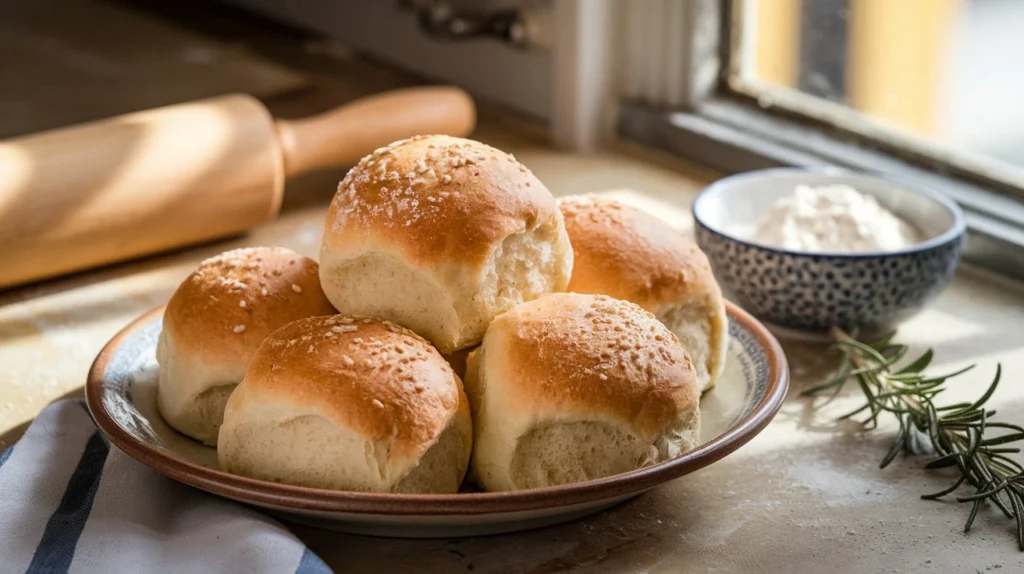
- Bake: Place the baking sheet in the oven and let the rolls bake for about 15 to 20 minutes. Keep an eye on them; you’re looking for a lovely golden-brown color on top. The aroma that fills your kitchen will be a sure sign that something delicious is happening.
Tips for Perfect Rolls
- Room Temperature Ingredients: For the best results, make sure your milk and butter are at room temperature. This helps mix everything better and creates a smoother dough.
- Avoid Overmixing: Once your wet and dry ingredients are combined, mix just until everything is incorporated. Overmixing can lead to tougher rolls.
By following these steps, you’ll find that making no yeast dinner rolls is not only easy but also a rewarding experience. The result is a batch of warm, fluffy rolls that can be enjoyed straight from the oven or served alongside your favorite dishes. Enjoy the process and share the delicious outcome with your loved ones!
Serving Suggestions for No Yeast Dinner Rolls
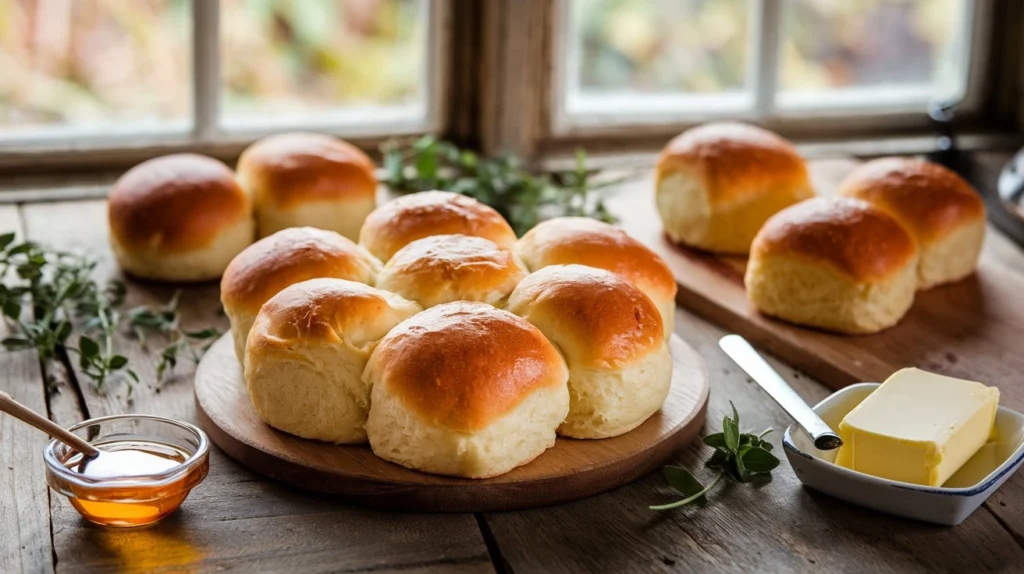
Your freshly baked no yeast dinner rolls are incredibly versatile and can complement a variety of meals. Here are some delicious ways to serve them, enhancing both your dining experience and the flavors of your dishes.
Pairing with Meals
- Soups and Stews: One of the best ways to enjoy these rolls is by pairing them with hearty soups or stews. The soft, fluffy texture of the rolls is perfect for soaking up rich broths, making each bite comforting and satisfying. Consider serving them alongside a creamy tomato soup or a robust beef stew.
- Salads: If you’re preparing a lighter meal, these rolls can be a delightful addition to salads. Their subtle flavor complements vibrant salads, providing a nice contrast to fresh greens and tangy dressings. Try serving them with a classic Caesar salad or a mixed greens salad topped with nuts and dried fruits.
- Main Dishes: No yeast dinner rolls can also stand on their own as a side with your main courses. Whether you’re serving roasted chicken, grilled fish, or a vegetarian casserole, these rolls add a comforting touch that balances out the meal. They’re especially great for soaking up sauces or gravies.
Ideas for Spreads
Enhance your rolls even further by adding spreads. Here are a few ideas to consider:
- Butter: A classic choice, spreading a pat of butter on a warm roll melts it into a delicious, rich topping. For an added twist, try flavored butters, such as garlic herb or honey butter.
- Jam or Honey: If you prefer something sweeter, spread a layer of your favorite jam or drizzle honey over the rolls. This combination works particularly well for breakfast or brunch, making your rolls a delightful treat to start the day.
- Garlic Herb Spread: Create a simple garlic herb spread by mixing softened butter with minced garlic and fresh herbs. Spread this on your rolls for an aromatic and flavorful kick that pairs wonderfully with any meal.
Storage Tips
If you happen to have leftovers (though they’re likely to disappear quickly), here’s how to store them:
- Room Temperature: Keep the rolls in an airtight container at room temperature for up to two days. This helps maintain their softness.
- Refrigeration: To store them for a longer time, keep them in the fridge. When you’re ready to enjoy them again, simply reheat in the oven for a few minutes to restore their warmth and texture.
By exploring these serving suggestions, you’ll unlock the full potential of your no yeast dinner rolls, turning them into a beloved staple that enhances each meal you prepare. Enjoy the process of serving and sharing these delightful rolls with family and friends!
(FAQ)
As you embark on your journey to make no yeast dinner rolls, you might have some questions or concerns. Here are answers to common queries that can help you navigate the process and enhance your baking experience.
Can I make these rolls gluten-free?
Absolutely! If you or your guests are gluten-sensitive, you can easily adapt this recipe. Look for a gluten-free all-purpose flour blend that contains xanthan gum, which helps mimic the elasticity of gluten. Keep in mind that the texture may vary slightly, but you’ll still achieve a delicious result.
How can I make these rolls sweeter?
If you have a sweet tooth or want to serve these rolls for breakfast, you can certainly add a touch of sweetness. Incorporate a couple of tablespoons of sugar or honey into the dough. This small adjustment can transform your rolls into a delightful treat that pairs well with fruit spreads or sweet butter.
What if I don’t have baking powder?
If you find yourself out of baking powder, you can still create a leavening effect using baking soda and an acid. For every teaspoon of baking powder required, substitute it with ¼ teaspoon of baking soda combined with ½ teaspoon of vinegar or lemon juice. This combination will help your rolls rise effectively.
Can I freeze the rolls?
Yes, freezing is a great option if you want to prepare rolls in advance. Once baked, allow the rolls to cool completely, then store them in a sealed container or freezer bag. You can keep them in the freezer for as long as three months. When you’re ready to enjoy them, simply thaw at room temperature and reheat in the oven for a few minutes to restore their freshness.
How can I ensure my rolls are fluffy?
To achieve fluffy rolls, be mindful of your mixing technique. Avoid overmixing the dough, as this can lead to a denser texture. Additionally, make sure your ingredients are at room temperature. This helps incorporate air into the dough, resulting in lighter rolls.
What can I do if my dough is too sticky?
If you find that your dough is overly sticky, don’t worry! You can gradually add a bit more flour, a tablespoon at a time, until it reaches a manageable consistency. Just be careful not to add too much, as this can alter the texture of your rolls.
By addressing these frequently asked questions, you can feel more confident in your ability to make no yeast dinner rolls. Whether you’re adjusting the recipe to suit your dietary needs or troubleshooting common issues, you’re well on your way to baking success! Have fun with the process and savor the tasty results.
Conclusion
As you wrap up your baking adventure, take a moment to appreciate the journey that led to your homemade no yeast dinner rolls. These rolls are not just a simple side dish; they represent a blend of creativity, comfort, and culinary skill. Whether you’ve made them for a special occasion or just to enhance a weekday dinner, there’s something truly rewarding about serving warm, fluffy rolls to your family and friends.
Savoring the Experience
When you take that first bite, allow yourself to enjoy the soft texture and delightful flavor. These rolls can elevate any meal, transforming a regular dinner into something memorable. You may find that the aroma wafting through your home lingers in your memory, reminding you of the warmth and connection that comes from sharing food.
Sharing with Others
Consider making these rolls a part of your family traditions. Invite loved ones into the kitchen to help shape the dough or brush the tops with melted butter. Engaging others in the process not only makes baking fun but also creates cherished memories that can be passed down through generations.
Experimenting Further
Once you’ve mastered the basic recipe, don’t hesitate to experiment. Try different herbs, cheeses, or spices to create unique flavor profiles that suit your taste. Each batch can become a new adventure, allowing you to discover what combinations resonate best with you and your guests.
A Lasting Staple
As you enjoy your homemade no yeast dinner rolls, remember that they are versatile enough to accompany a wide range of dishes. From soups and salads to main courses, these rolls will quickly become a staple in your kitchen. They are perfect for any occasion, and their ease of preparation means you can whip them up whenever the craving strikes.
In the end, the joy of homemade no yeast dinner rolls lies not only in their taste but in the experiences they create around your table. So, gather your loved ones, share stories, and indulge in the satisfaction that comes from enjoying something you made with your own hands. Happy baking!