Picture yourself standing in the early morning light, the cool breeze brushing against your skin as you set out for a day of hunting. You’ve spent hours in nature, waiting patiently, and finally, you spot your target—a majestic deer. After a successful hunt, you bring home your prize, filled with pride and excitement. But what comes next? Preserving that meat is essential, and this is where pressure canning becomes your best ally.
The Importance of Preservation
When you’ve invested time and effort into your hunt, you want to ensure that every bit of that venison is enjoyed to the fullest. Pressure canning allows you to:
- Extend Shelf Life: Unlike refrigeration or freezing, pressure canning can keep your venison safe and delicious for years.
- Retain Nutrients: Proper canning helps maintain the nutritional value of the meat, ensuring you’re feeding your family wholesome meals.
- Embrace Tradition: Canning venison connects you to a time-honored practice that generations have relied on, creating a sense of continuity with the past.
A Personal Connection
As you think about the meals you’ll create with your canned venison, consider the stories that will unfold around your dinner table. Each jar represents hard work and a connection to nature. Whether it’s a family gathering or a quiet dinner at home, the flavors of your preserved venison will evoke memories and foster new experiences.
What to Expect in This Guide
In this comprehensive article, you will learn how to can venison effectively. We’ll cover everything you need to know, from the essential equipment to step-by-step instructions, ensuring that you can preserve your deer meat with confidence. Here’s what we’ll explore:
- Why Pressure Canning?: Understand the benefits of using this method over alternatives.
- Essential Equipment: Discover the tools that will make your canning process smooth and efficient.
- Preparing Venison: Get insights on selecting and preparing the best cuts of meat.
- Canning Process: Follow a detailed guide on the canning steps, including troubleshooting tips.
- Flavoring Options: Explore various recipes and ways to enhance the taste of your venison.
- Storage and Usage: Learn how to store your canned goods and the different ways to enjoy them.
By the end of this article, you’ll be equipped with the knowledge and confidence to preserve your venison successfully. So, gather your supplies and get ready to embark on a rewarding journey that keeps the flavors of your hunt alive throughout the year.
Why Choose Pressure Canning for Venison?
When it comes to preserving venison, you have several options at your disposal. However, pressure canning stands out as one of the most effective methods. Let’s delve into why this technique is particularly well-suited for keeping your deer meat fresh and flavorful.
Superior Preservation Method
Pressure canning is a game-changer for those looking to store venison for the long haul. Here’s why:
- Extended Shelf Life: By using high pressure to seal your jars, you create a vacuum that prevents spoilage. This method can keep your venison safe and tasty for up to five years or more.
- Unmatched Safety: The high temperatures reached during pressure canning effectively eliminate harmful bacteria and pathogens. This ensures that the meat remains safe for consumption over extended periods.
Nutritional Benefits
When you choose to pressure can venison, you’re also making a wise choice for your health. Consider these points:
- Nutrient Retention: Pressure canning preserves the essential vitamins and minerals in the meat better than freezing or other methods, making it a nutritious option for you and your family.
- Flavor Preservation: The sealed environment of the jars locks in the natural flavors of the venison, so every meal will taste as fresh as the day you canned it.
Convenience and Versatility
One of the significant advantages of pressure canning is the convenience it offers:
- Ready-to-Eat Meals: Canned venison can be a quick meal solution. When you’re in a rush, just grab a jar, heat it up, and you’re ready to go. This can help you save time on hectic weeknights.
- Meal Variety: With canned venison, you can prepare a range of dishes. From stews and soups to tacos and casseroles, the possibilities are endless.
Cost-Effective Solution
Investing in a pressure canner can save you money in the long run:
- Reduce Waste: By canning your venison, you minimize waste. You won’t have to worry about meat going bad in the fridge or freezer.
- Bulk Buying: Canning allows you to take advantage of bulk purchases or hunting seasons, making it a cost-effective way to stock up on quality meat.
Embracing Tradition
Choosing to pressure can venison connects you to a rich tradition that many families cherish:
- Culinary Heritage: Canning has been a method of food preservation for generations. By adopting this practice, you’re honoring your culinary roots and passing down valuable skills to future generations.
- Sustainability: Pressure canning supports a sustainable approach to food consumption. You’re utilizing local resources, reducing reliance on store-bought products, and minimizing your carbon footprint.
In summary, pressure canning offers a multitude of benefits for preserving venison. From extended shelf life and safety to nutrition and convenience, this method is an ideal choice for anyone wanting to enjoy their hunt long after the season ends. By embracing pressure canning, you not only preserve the flavors of your hard work but also connect with a tradition that enhances your culinary experiences. So, as you prepare to can your venison, you can feel confident that you’re making a smart and rewarding choice.
Essential Equipment for Pressure Canning Venison
To embark on your journey of pressure canning venison, having the right tools is crucial. The equipment you choose will not only simplify the process but also ensure safety and efficiency. Let’s explore the essential items you need to gather before you start canning.
1. Pressure Canner
A dependable pressure canner is the cornerstone of your canning setup. Here’s what to consider:
- Types of Pressure Canners:
- Dial Gauge Canners: These allow you to monitor pressure levels accurately. They require regular calibration for optimal performance.
- Weighted Gauge Canners: These are more user-friendly as they automatically regulate the pressure without needing calibration.
- Capacity: Choose a canner that fits your needs. Larger models can hold more jars, which is beneficial if you plan to can in bulk.
2. Canning Jars
Selecting the right jars is vital for successful canning. Here’s what to keep in mind:
- Types of Jars:
- Mason Jars: Widely used for canning, these come in various sizes (pint, quart) and are designed to withstand high pressure.
- Wide Mouth vs. Regular Mouth: Wide-mouth jars are easier to fill and clean, making them a popular choice for meat.
- Lids: Always use fresh lids for each canning session to make sure they seal correctly. Reusable lids are available but may not provide the same reliability.
3. Canning Tools
Having the right tools will make your canning experience smoother. Consider adding these items to your collection:
- Jar Lifter: This tool helps you safely lift hot jars from the canner without burning yourself.
- Funnel: A canning funnel ensures that you fill your jars neatly, reducing the risk of spills.
- Bubble Popper: This handy tool helps release air bubbles trapped in the jars, ensuring proper sealing.
4. Ingredients and Seasonings
While the focus is on equipment, the quality of your ingredients matters too. Here’s what you’ll need:
- Venison: Choose fresh, high-quality cuts for optimal flavor and texture.
- Brine or Broth: Depending on your recipe, you might need broth, water, or a brine solution to pack into the jars.
- Seasonings: Consider adding spices, herbs, or marinades to enhance the flavor of your canned venison.
5. Cleaning Supplies
Maintaining cleanliness is essential in the canning process. Make sure to have:
- Dish Soap: Use a gentle soap to clean jars and equipment.
- Towels: Keep towels handy for drying jars and wiping down surfaces.
- Sanitizing Solution: You may want to use a vinegar solution or a commercial sanitizer to ensure your tools and jars are properly sanitized.
6. Work Area Setup
Creating an organized workspace will streamline your canning process. Here are some tips:
- Clean Counter Space: Ensure you have a large, clear area to work. This will help you manage jars, ingredients, and tools effectively.
- Accessible Water Source: Have a sink or water source nearby for rinsing jars and tools.
- Heat Source: Ensure your stove or burner can accommodate your pressure canner.
Equipping yourself with the proper tools and supplies is essential for successfully pressure canning venison. From the canner itself to the jars and tools that aid in the process, each piece of equipment plays a vital role. By preparing your workspace and gathering the right ingredients, you’ll be well on your way to preserving your venison safely and efficiently. With the right setup, you can embark on your canning adventure with confidence, ready to enjoy the fruits of your labor for months to come.
Preparing Venison for Canning
Preparing your venison properly is a crucial step in the canning process. The way you handle and prepare the meat will significantly impact both the safety and flavor of the final product. Let’s break down the essential steps you need to follow to get your venison ready for canning.
1. Selecting the Right Cuts
Not all parts of the deer are ideal for canning. Here’s a guide to help you choose:
- Best Cuts for Canning:
- Shoulder: Often well-marbled, the shoulder provides flavorful, tender meat.
- Shanks: These cuts are great for braising and will become tender during the canning process.
- Trimmings: Leftover bits from other cuts can also be used, ensuring nothing goes to waste.
- Avoid Tough Cuts: Steer clear of very lean or tough cuts, as these may not preserve well and could result in a less enjoyable texture.
2. Trimming and Preparing the Meat
Once you’ve selected your cuts, it’s time to prepare them for canning:
- Trimming Fat: Excess fat can lead to rancidity during storage. Trim away any large pieces of fat and sinew to ensure a better-quality product.
- Cutting: Depending on your preference, you can:
- Cube the Meat: Cut the venison into 1- to 2-inch cubes for easy packing into jars.
- Leave Whole: For larger cuts, consider leaving them whole if you prefer to shred the meat later.
3. Cleaning the Meat
Maintaining cleanliness is vital in the preparation process:
- Rinse the Venison: Rinse the meat under cold running water to remove any surface contaminants.
- Pat Dry: Use clean paper towels to pat the meat dry. This helps prevent excess moisture in the jars.
4. Optional Pre-Treatment
While not mandatory, pre-treating your venison can enhance flavor and texture:
- Brining: Soaking the meat in a saltwater solution for several hours can help improve flavor and tenderness.
- Marinating: Consider marinating the venison in your favorite spices or sauces to infuse additional flavors before canning.
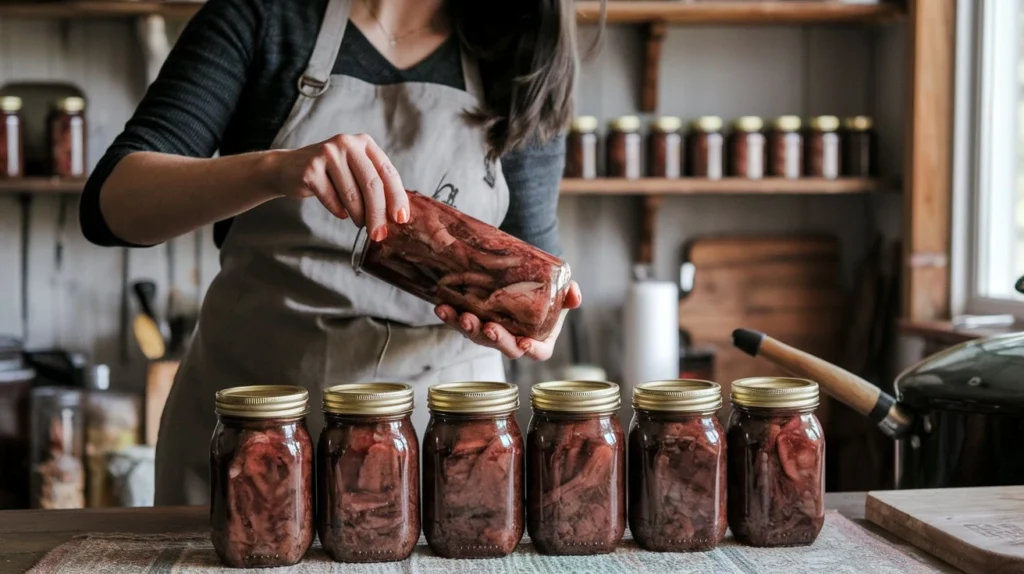
5. Packing the Jars
Once your venison is prepped, it’s time to pack it into jars:
- Filling the Jars:
- Use a clean canning funnel to help fill the jars with meat, leaving about 1 inch of headspace at the top. This space is important for sealing correctly and allowing expansion during processing.
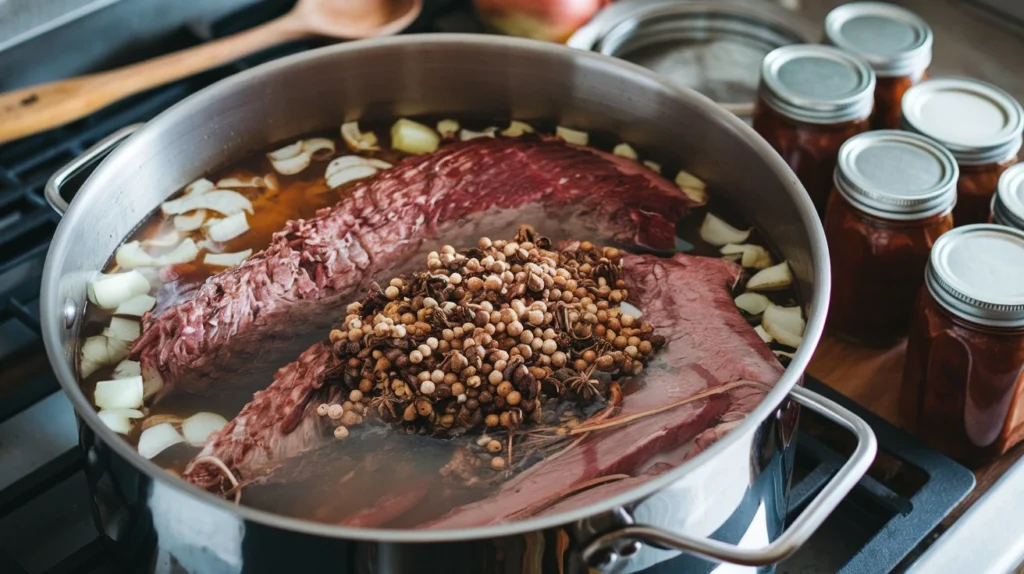
- Adding Liquid: Depending on your recipe, you may choose to add:
- Broth: Beef or vegetable broth enhances flavor.
- Water: If you prefer a lighter option, plain water works well.
- Seasoning: If you didn’t marinate your meat, now is the time to add spices or herbs directly into the jar. Consider adding garlic, peppercorns, or bay leaves for added flavor.
6. Ensuring a Good Seal
Before sealing your jars, make sure everything is ready for the canning process:
- Wipe the Rims: Use a clean cloth to wipe the rims of the jars to remove any residue that could prevent a proper seal.
- Place Lids: Center a clean lid on each jar and secure it with a metal band. Tighten it just until it’s fingertip-tight—don’t over-tighten.
Preparing venison for canning is a vital step that sets the stage for successful preservation. By selecting the right cuts, trimming excess fat, and properly packing your jars, you’ll ensure that your canned venison is both safe and delicious. With careful preparation, you can look forward to enjoying the rich flavors of your hard-earned venison long after the hunting season ends. So, take your time in this process, and you’ll reap the rewards when you sit down to enjoy your meals made from your home-canned venison.
The Pressure Canning Process
Once you’ve prepared your venison, the next critical step is the pressure canning process. This method not only preserves the meat but also ensures it remains safe for consumption. Here, you’ll find a detailed guide to help you navigate each stage of the pressure canning process with confidence.
1. Gather Your Supplies
Before starting, ensure you have all the supplies you need:
- Pressure Canner: Ensure it’s clean and in good working condition.
- Canned Jars: Use sterilized jars that are suitable for pressure canning.
- Lids and Bands: Have new lids ready for sealing.
- Tools: Gather your jar lifter, canning funnel, and bubble popper.
2. Prepare the Pressure Canner
Setting up your pressure canner properly is essential for safety:
- Add Water: Pour the recommended amount of water into the bottom of the canner. Usually, 2 to 3 inches is sufficient, but consult your canner’s manual for specifics.
- Check the Gasket: Inspect the gasket (the rubber seal) for any damage. A good seal is crucial for maintaining pressure during the canning process.
3. Load the Jars
Now that your canner is ready, it’s time to fill it:
- Place Jars in the Canner: Arrange the filled jars on the canner rack, ensuring they do not touch each other. This allows for even heat distribution.
- Ensure Proper Spacing: Leave enough room for steam to circulate around the jars. Follow the canner’s instructions for maximum capacity.
4. Secure the Lid
Once your jars are in place, it’s time to seal the canner:
- Align the Lid: Place the lid on top of the canner, ensuring it fits snugly.
- Lock the Lid: Use any locking mechanisms provided by your canner to secure the lid. This is crucial for maintaining pressure.
5. Build Pressure
Now, you’ll need to create the necessary pressure for canning:
- Heat the Canner: Turn on the burner to medium-high heat. Allow the canner to heat up gradually. You will start to see steam escaping from the vent.
- Vent the Steam: Let steam flow for about 10 minutes to ensure that all air is expelled from the canner. This step is vital for achieving the right pressure.
6. Achieve and Maintain Pressure
Once steam is vented, you can reach the desired pressure:
- Check the Pressure Gauge: Depending on your canner type (dial or weighted gauge), adjust the heat to maintain the recommended pressure for your altitude. Common pressures for venison are 10 to 15 psi.
- Monitor Throughout Processing: Keep an eye on the pressure gauge, adjusting the heat as necessary to maintain steady pressure.
7. Timing the Process
Timing is crucial in pressure canning:
- Processing Time: For cubed venison, the typical processing time is around 75 to 90 minutes, depending on the jar size. Always refer to a trusted guide or your canner’s manual for precise times.
- Start Timing: Begin your timer once the correct pressure is achieved, not before.
8. Release Pressure Safely
Once the processing time is up, it’s important to release the pressure correctly:
- Turn Off the Heat: Remove the canner from the heat source and allow it to cool naturally. Do not attempt to force the pressure down.
- Wait for the Pressure to Drop: Allow the canner to cool until the pressure gauge reads zero. This may take some time, but it’s essential for safety.
9. Remove the Jars
After the pressure is fully released, it’s time to take your jars out:
- Open the Lid Carefully: When opening the canner, tilt the lid away from you to avoid steam burns.
- Use a Jar Lifter: Carefully lift each jar out of the canner and place them on a clean towel or cooling rack.
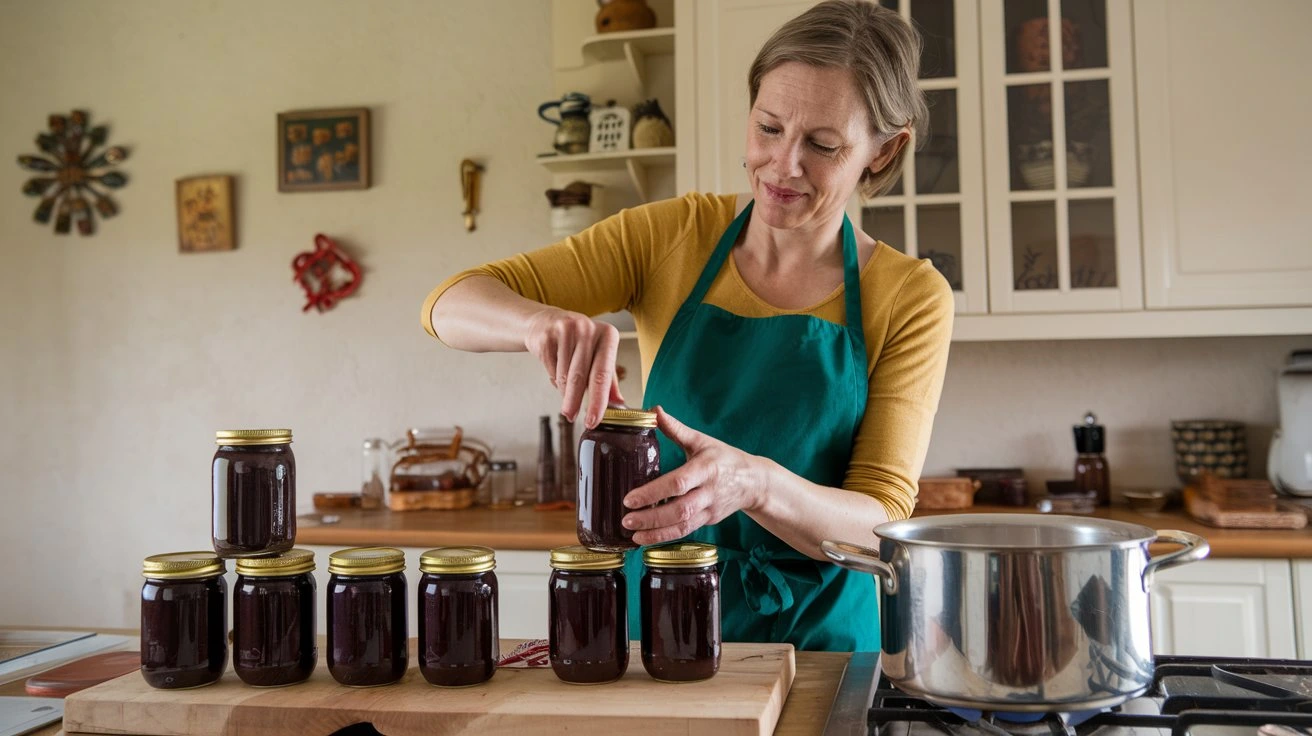
10. Let the Jars Cool
Cooling is an important final step:
- Leave Space: Allow jars to cool undisturbed for 12 to 24 hours. This lets the seals set properly.
- Check Seals: After cooling, check that each jar has sealed correctly. The lid should remain firm and not bend when you press in the middle.
The pressure canning process might seem complex at first, but with careful attention to detail and adherence to safety guidelines, you can master it. From preparing your canner to ensuring each jar is sealed securely, following these steps will help you preserve your venison safely and effectively. Enjoy the satisfaction of knowing you’ve created delicious, home-canned meals that you can savor for months to come!
Recipes and Flavoring Options
When it comes to canning venison, the possibilities are truly endless. Not only can you preserve this delicious meat, but you can also infuse it with a variety of flavors that will enhance your meals. Let’s explore some mouthwatering recipes and seasoning ideas that will elevate your canned venison dishes.
1. Basic Canned Venison
This straightforward recipe serves as the foundation for your canning journey.
Ingredients:
| Ingredient | Quantity |
|---|---|
| Venison (cubed) | 4 pounds |
| Salt | 1 tablespoon |
| Pepper | To taste |
| Water or Broth | As needed |
Instructions:
- Prepare the Meat: Trim and cube the venison as discussed earlier.
- Pack the Jars: Fill sterilized jars with cubed meat, leaving about 1 inch of headspace.
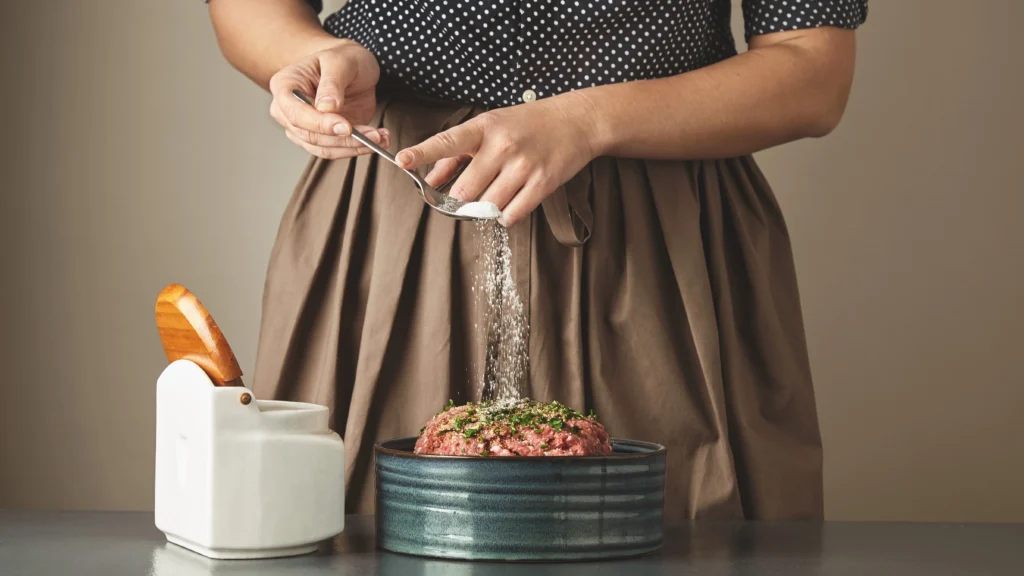
- Add Salt and Pepper: Sprinkle salt and pepper into each jar.
- Fill with Liquid: Pour in water or broth, maintaining the headspace.
- Seal and Process: Wipe the rims, seal with lids, and process in a pressure canner.
2. BBQ Venison
Add a smoky, tangy flavor to your canned venison with this easy BBQ recipe.
Ingredients:
| Ingredient | Quantity |
|---|---|
| Venison (cubed) | 4 pounds |
| BBQ Sauce | 2 cups |
| Water | As needed |
| Onion (chopped) | 1 medium |
| Garlic (minced) | 3 cloves |
Instructions:
- Combine Ingredients: In a large bowl, mix cubed venison with BBQ sauce, chopped onion, and minced garlic.
- Pack the Jars: Fill sterilized jars with the mixture, leaving 1 inch of headspace.
- Add Water: If the mixture is too thick, add a bit of water to achieve the desired consistency.
- Seal and Process: Wipe the rims, seal with lids, and process in the pressure canner.
3. Spicy Venison
For those who enjoy a kick of heat, this spicy rendition is perfect.
Ingredients:
| Ingredient | Quantity |
|---|---|
| Venison (cubed) | 4 pounds |
| Hot Peppers (sliced) | 1 cup |
| Onion (chopped) | 1 large |
| Garlic (minced) | 4 cloves |
| Salt | 1 tablespoon |
| Pepper | To taste |
Instructions:
- Mix Ingredients: In a mixing bowl, combine cubed venison, sliced hot peppers, onion, garlic, salt, and pepper.
- Pack the Jars: Fill jars with the meat mixture, leaving 1 inch of headspace.
- Seal and Process: Wipe the rims, seal with lids, and process in the pressure canner.
4. Herb-Infused Venison
Using herbs can add a fresh, aromatic quality to your canned venison. Here’s a simple recipe.
Ingredients:
| Ingredient | Quantity |
|---|---|
| Venison (cubed) | 4 pounds |
| Fresh Herbs (rosemary, thyme) | 1 tablespoon each |
| Garlic (minced) | 3 cloves |
| Salt | 1 tablespoon |
| Water or Broth | As needed |
Instructions:
- Prepare the Meat: Combine cubed venison with minced garlic and fresh herbs in a bowl.
- Pack the Jars: Fill sterilized jars with the mixture.
- Add Liquid: Pour in water or broth, leaving 1 inch of headspace.
- Seal and Process: Wipe the rims, seal with lids, and pressure can.
5. Creative Flavoring Ideas
To personalize your canned venison, consider these flavoring options:
- Marinades: Before canning, marinate your venison in mixtures like soy sauce, Worcestershire sauce, or citrus juices to enhance flavor.
- Spices: Experiment with spices like paprika, cumin, or Italian seasoning to create unique flavor profiles.
- Vegetables: Adding vegetables like carrots, celery, or bell peppers can introduce additional textures and tastes.
Canning venison opens up a world of culinary possibilities. By experimenting with different recipes and flavoring options, you can create a diverse pantry full of delicious meals ready to enjoy. Whether you opt for a classic preparation or venture into more adventurous flavors, your home-canned venison will provide enjoyment and satisfaction for months to come. So gather your ingredients, get creative, and relish the rewards of your hard work!
Storing and Using Canned Venison
After investing time and effort into canning your venison, knowing how to store and use it effectively is essential to ensure you get the most out of your preserved meat. Proper storage techniques will keep your canned venison safe and delicious for an extended period. Let’s explore the best practices for storing your jars and creative ways to incorporate this versatile ingredient into your meals.
1. Ideal Storage Conditions
Where you store your canned venison plays a crucial role in maintaining its quality. Consider the following factors:
- Cool Temperature: Store your jars in a cool, dark place, ideally between 50°F and 70°F (10°C to 21°C). Avoid areas that experience temperature fluctuations, like garages or attics.
- Humidity Control: Aim for a dry environment. High humidity can promote mold growth and affect the seals on your jars.
- Darkness: Keep jars away from direct sunlight, as light can degrade the quality of the food inside.
2. Organizing Your Canned Goods
Keeping your pantry organized will help you keep track of your canned venison:
- Labeling: Always label your jars with the date of canning and the type of recipe. This helps you prioritize older jars and makes it easier to find what you need.
- Rotation: Use the first-in, first-out (FIFO) method, where you use older jars before newer ones. This practice ensures that you consume your canned goods while they’re still at their best.
3. Checking for Seal Integrity
Before using your canned venison, it’s important to check that the seals are intact:
- Visual Inspection: Look for any signs of bulging lids or leaks. If a jar appears compromised, it’s best to discard it.
- Press Test: When you press the center of the lid, it should not flex. A sealed lid will remain firm. If it pops back up, the jar has not sealed properly.
4. How to Use Canned Venison
Canned venison is very flexible and can be used in many different recipes. Here are some suggestions to spark your cooking ideas:
Soups and Stews
- Venison Stew: Combine canned venison with potatoes, carrots, onions, and beef broth for a hearty stew. Simply heat the ingredients in a pot until warmed through.
- Chili: Use canned venison as a base for a delicious chili. Add beans, tomatoes, chili powder, and your favorite spices, then simmer until heated.
Tacos and Wraps
- Taco Filling: Heat canned venison with taco seasoning, then serve in tortillas with your choice of toppings like cheese, lettuce, and salsa.
- Wraps: Create a quick and easy wrap by combining canned venison with fresh vegetables and your favorite sauce, all wrapped in a tortilla.
Casseroles
- Venison Casserole: Mix canned venison with cooked rice or pasta, cream of mushroom soup, and your choice of vegetables. Top with cheese and bake until bubbling.
Salads
- Protein-Packed Salad: Toss canned venison with mixed greens, cherry tomatoes, avocado, and a vinaigrette for a quick, nutritious salad.
5. Safety Guidelines
While using canned venison is generally safe, keep these guidelines in mind:
- Always Heat Thoroughly: Before consuming, heat the contents of the jar to an internal temperature of at least 165°F (74°C) to kill any potential bacteria.
- Storage Duration: Canned venison can last up to five years when stored properly. However, for the best quality, aim to use it within two to three years.
Storing and using canned venison effectively not only maximizes the benefits of your hard work but also enhances your culinary experiences. By following proper storage methods, keeping your pantry organized, and exploring various recipes, you can enjoy the flavors of your venison long after the hunting season has ended. With a little creativity, your canned venison can become a staple ingredient in your kitchen, ready to provide nutritious and delicious meals whenever you need them. Enjoy the satisfaction of knowing you’ve preserved a piece of your hunting tradition!
Frequently Asked Questions (FAQ)
As you embark on your journey of pressure canning venison, you may have some questions. This section addresses common queries to help clarify the process and ensure your canning experience is successful. Here are the most frequently asked questions along with informative answers.
1. How Long Will Canned Venison Last?
Canned venison can typically last up to five years when stored in ideal conditions. However, for the best flavor and quality, it’s advisable to consume it within two to three years. Always check the seals and the condition of the jars before use.
2. Can I Can Venison with Bones?
It is generally not recommended to can venison with bones. The bones can create air pockets that may prevent proper sealing and could lead to spoilage. For best results, use boneless cuts of meat.
3. What Is the Best Pressure Canner for Venison?
The best pressure canner for venison is one that meets USDA standards for pressure canning. Look for a model that has a gauge to monitor pressure (either dial or weighted gauge) and has a capacity that suits your canning needs. Brands like Presto and All American are popular and reliable choices.
4. Is It Safe to Can Venison at Home?
Yes, canning venison at home is safe as long as you follow proper canning procedures. Using a pressure canner is essential for meat products, as it reaches the high temperatures necessary to kill harmful bacteria. Always consult trusted resources or guides to ensure you’re following safe practices.
5. Do I Need to Use New Lids Every Time?
Yes, it is recommended to use new lids each time you can. While the jar itself can be reused, the lids are designed for one-time use to ensure a proper seal. Reusing lids can compromise the safety of your canned goods.
6. How Should I Prepare the Venison Before Canning?
Before canning, trim any excess fat from the venison and cut it into uniform pieces. You can choose to cube the meat or leave larger cuts whole. Rinsing the meat under cold water and patting it dry is also important to ensure cleanliness.
7. What Should I Do If a Jar Doesn’t Seal?
If a jar does not seal properly, you have a few options:
- Reprocess: You can open the jar, check the rim for debris, and reprocess it with a new lid.
- Refrigerate: If the jar doesn’t seal within 24 hours, refrigerate the contents and use them within a few days.
- Discard: If you notice any signs of spoilage, such as off smells or bubbling, discard the jar to avoid foodborne illness.
8. Can I Add Vegetables or Other Ingredients to My Canned Venison?
Yes, you can add certain vegetables and seasonings to your canned venison. However, be cautious with the amount and type of ingredients. Starchy vegetables (like potatoes) are not recommended for pressure canning due to their density. Instead, consider using carrots, onions, and herbs for added flavor.
9. How Do I Use Canned Venison in Recipes?
Canned venison is incredibly versatile. Here are some options for how to use it:
- Soups and Stews: Simply heat the contents and add to your favorite recipes.
- Tacos: Use the canned meat as a filling with your choice of toppings.
- Casseroles: Mix with other ingredients and bake for a hearty meal.
10. What Should I Do If My Canned Venison Tastes Off?
If your canned venison has an unusual taste or odor, it’s best not to consume it. This could indicate spoilage. Always trust your senses—if something doesn’t seem right, err on the side of caution and discard the jar.
Having answers to these frequently asked questions can greatly enhance your confidence as you navigate the process of pressure canning venison. Whether it’s about storage, safety, or culinary uses, being informed will help you make the most of your canning experience. With this knowledge, you can enjoy delicious, home-canned venison while ensuring that your efforts yield safe and tasty results.
Conclusion
Embarking on the journey of pressure canning venison not only allows you to preserve the fruits of your hunting efforts but also connects you to a rich tradition of food preservation. Throughout this guide, you’ve learned the essential steps and techniques needed to can venison safely and effectively, ensuring that you can enjoy its flavors long after the hunting season has ended.
Key Takeaways
- Preparation Matters: Properly selecting, trimming, and preparing your venison is crucial for achieving the best results. Taking the time to prepare your meat will enhance both flavor and safety.
- Embrace Pressure Canning: This method is unparalleled for preserving meat. It ensures that your venison is shelf-stable, nutrient-rich, and safe for consumption.
- Flavor Exploration: Experimenting with different recipes and flavoring options opens up a world of culinary possibilities. Whether you prefer classic preparations or adventurous flavors, your canned venison can adapt to your culinary creativity.
- Storage and Usage: Understanding how to store and utilize your canned venison maximizes its lifespan and keeps your meals exciting. With proper storage practices, you can enjoy your venison for years to come.
- Safety First: Always prioritize safety by following best practices for canning. From checking seals to maintaining proper pressure, these steps are vital for ensuring the safety of your preserved meat.
Final Thoughts
As you step into the world of pressure canning, remember that each jar of venison represents not just a meal but a connection to nature, tradition, and your culinary skills. The satisfaction of creating something that can nourish you and your family for months ahead is rewarding.
So gather your supplies, get creative in the kitchen, and cherish the moments spent canning with loved ones. With the knowledge and techniques you’ve gained, you’re now well-equipped to enjoy the rich, savory flavors of your home-canned venison. Happy canning!