Imagine walking through the bustling halls of your school, the excitement in the air palpable as lunchtime approaches. Your heart races as you think about the warm, chocolatey delight waiting for you—lunch lady brownies. These treats weren’t just desserts; they were the highlight of your day, a sweet moment that disrupted the monotony of school life. You can almost hear the clatter of trays and chatter of friends as you recall trading snacks just for an extra brownie.
These fudgy squares, with their rich flavor and soft texture, hold a special place in many hearts. They are more than just a recipe; they are a nostalgic journey back to simpler times, where laughter and friendship flourished over shared treats. Whether you enjoyed them straight from the cafeteria or had a family member whip up a batch at home, lunch lady brownies evoke memories that bring a smile to your face.
In this article, you’ll discover how to recreate these iconic brownies in your own kitchen. From gathering the right ingredients to following step-by-step instructions, you’ll learn to make a treat that captures the essence of those cherished memories. Get ready to embrace the joy of baking and indulge in a nostalgic experience that’s sure to please your taste buds and warm your heart.
Table of Contents
The History of Lunch Lady Brownies
To truly appreciate lunch lady brownies, it helps to understand their roots. These treats emerged in school cafeterias across America, becoming a staple that students looked forward to. You might remember the anticipation as you lined up for lunch, the aroma of baked goods wafting through the air, hinting at the delightful dessert that awaited.
These brownies began as a practical solution for feeding large groups of hungry kids. Cafeteria workers, often referred to as “lunch ladies,” created simple, yet delicious recipes that could be prepared in bulk. The goal was not just to satisfy sweet cravings, but to create affordable and filling snacks that could brighten up any lunch tray. As you reflect on that, it’s clear that these brownies were crafted with care, often made from pantry staples that families could easily access.
Over the decades, flavors and ingredients may have evolved, but the essence of lunch lady brownies remains unchanged. They symbolize a unique connection to childhood, reminding you of carefree days filled with laughter and friendship. Each bite carries a legacy—one of shared moments, simple pleasures, and the joy of indulging in something sweet after a long day of classes. As you dive into making these brownies today, you’re not just creating a dessert; you’re also participating in a long-standing tradition that has left a lasting mark on generations of students.
Essential Ingredients for Lunch Lady Brownies
When it comes to crafting the perfect lunch lady brownies, the ingredients you choose play a crucial role in achieving that signature taste and texture. You’ll want to gather some basic staples that not only enhance the flavor but also contribute to the rich, fudgy consistency that makes these brownies so beloved.
First on the list is unsalted butter. This ingredient adds richness and moisture, ensuring your brownies are soft and chewy. Using unsalted butter gives you control over the saltiness of your final product, allowing you to adjust according to your taste.
Next, you’ll need granulated sugar and brown sugar. The combination of these two sugars is key; granulated sugar provides sweetness while brown sugar adds moisture and a hint of caramel flavor. This blend creates a depth of taste that elevates your brownies beyond the ordinary.
Eggs are another essential element. They bring structure and help bind the ingredients together, ensuring your brownies maintain their shape while baking. The number of eggs you use can also affect the richness, so don’t skip this step.
The dry ingredients are just as important. All-purpose flour serves as the backbone of your brownies, providing the necessary structure. Cocoa powder is what gives your brownies their deep chocolate flavor. Opt for unsweetened cocoa powder to balance the sweetness from the sugars.
Finally, a couple of leavening agents—like baking powder—and a pinch of salt round out your ingredient list. The baking powder helps your brownies rise slightly, while salt enhances all the flavors, making each bite even more delicious.
As you gather these ingredients, think about their roles in your recipe. Each one contributes to the final product, ensuring that when you take that first bite, it’s a mouthful of nostalgia and satisfaction. With these essentials in hand, you’re well on your way to recreating the delightful taste of classic lunch lady brownies.
Step-by-Step Instructions to Make Lunch Lady Brownies
Creating lunch lady brownies is a straightforward process that brings together simple ingredients to create a delightful treat. As you embark on this baking adventure, follow these detailed steps to ensure your brownies turn out perfectly every time.
- Heat the Oven: Start by setting your oven to 350°F (175°C). This step is crucial as it ensures that your brownies bake evenly from the moment you place them in the oven.
- Prepare Your Baking Pan: Grab a 9×13 inch baking pan and grease it lightly with butter or cooking spray. This will help prevent your brownies from sticking, making it easier to cut and serve them later.
- Combine Wet Ingredients: In a big bowl, mix together 1 cup of unsalted butter, 2 cups of white sugar, and 1 cup of brown sugar. Use a hand mixer or a whisk to cream these ingredients together until the mixture is light and fluffy. This process incorporates air, giving your brownies a nice texture.
- Incorporate Eggs and Vanilla: Next, add 4 large eggs to the mixture, one at a time, beating well after each addition. Then, add 2 teaspoons of vanilla extract. This will enhance the flavor of your brownies, making them even more delicious.
- Combine Dry Ingredients: In a separate bowl, whisk together 1 ½ cups of all-purpose flour, 1 cup of unsweetened cocoa powder, 1 teaspoon of baking powder, and ½ teaspoon of salt. Mixing these dry ingredients separately helps to ensure that the baking powder and salt are evenly distributed throughout the flour.
- Mix It All Together: Gradually add the dry mixture to your wet ingredients, stirring gently until everything is well combined. Be careful not to overmix; you want to maintain that fudgy texture that makes lunch lady brownies so special.
- Pour and Spread: Pour your brownie batter into the prepared baking pan. Use a spatula to spread the mixture evenly, making sure it covers the entire pan.
- Bake: Place the pan in the preheated oven and bake for 25 to 30 minutes. To check for doneness, insert a toothpick into the center; it should come out with a few moist crumbs, but not wet batter. This shows that your brownies are baked just right.
- Cool and Cut: Once baked, remove the pan from the oven and allow the brownies to cool in the pan for about 15 to 20 minutes. Once they’re cool enough to handle, transfer them to a wire rack to cool completely. This step is essential for achieving clean cuts when you slice them into squares.
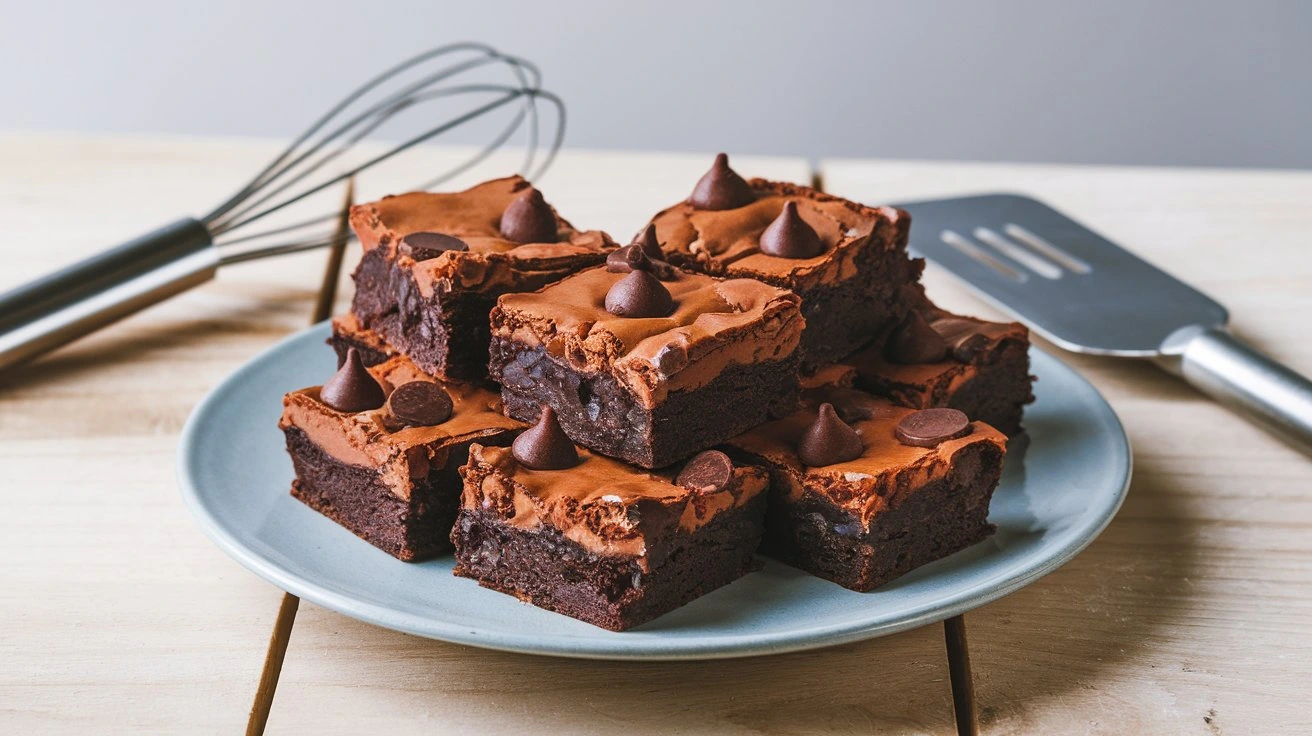
- Serve and Enjoy: After the brownies have cooled completely, cut them into squares and enjoy your homemade lunch lady brownies. Whether you savor them alone or share with friends and family, each bite will transport you back to those nostalgic school days.
By following these steps, you’ll find that making lunch lady brownies is not only easy but also incredibly rewarding. The process allows you to connect with cherished memories while creating a delicious treat to enjoy.
Tips for Perfecting Your Lunch Lady Brownies
To ensure your lunch lady brownies turn out just right, there are several tips and tricks that can elevate your baking game. By keeping these insights in mind, you can achieve that perfect balance of fudgy texture and rich flavor that makes these brownies so irresistible.
Use Room Temperature Ingredients
Starting with room temperature ingredients can make a significant difference in your final product. Allow your eggs and butter to sit out for about 30 minutes before you begin. This will make them mix more smoothly, giving a nicer texture.
Don’t Overmix the Batter
When combining your wet and dry ingredients, it’s vital to avoid overmixing. Stir just until everything is combined. Overmixing can lead to dense brownies instead of the soft, fudgy consistency you’re aiming for. A few lumps are perfectly fine!
Test for Doneness Carefully
It can be hard to tell when your brownies are baked just right. Start checking them a few minutes before the baking time is up. Insert a toothpick into the center—if it comes out with a few moist crumbs, they’re ready. If it’s clean, you might have overbaked them, so keep a close eye during the last few minutes.
Let Them Cool Completely
Patience is key when it comes to cooling your brownies. Let them cool all the way in the pan before cutting. This helps them set properly, resulting in cleaner cuts and a better overall texture. If you’re in a hurry, placing the pan in the refrigerator for a short time can help speed up the cooling process.
Experiment with Add-Ins
While classic lunch lady brownies are delicious on their own, don’t hesitate to get creative. Consider adding chocolate chips, nuts, or even swirls of peanut butter or caramel into the batter. These additions can enhance flavor and texture, making your brownies uniquely yours.
Store Properly for Freshness
To keep your brownies fresh, put them in a sealed container at room temperature. They can typically last for up to a week. You can freeze them for extended storage—just ensure they are wrapped securely. Thawing them at room temperature will bring back that fresh-baked taste.
Share the Joy
Finally, remember that baking is often more enjoyable when shared. Whether it’s bringing a batch to a gathering or simply sharing with family, the joy of lunch lady brownies is amplified when enjoyed with others.
By incorporating these tips, you’ll not only enhance your baking skills but also create a batch of lunch lady brownies that will delight everyone who tries them. With a little care and creativity, you can make a nostalgic treat that honors the beloved school cafeteria classic.
Serving Suggestions and Variations
Once you’ve mastered the art of making lunch lady brownies, you might wonder how to enhance or customize your treats even further. The good news is that these brownies are incredibly versatile, allowing you to serve them in various delightful ways or experiment with exciting variations. Here are some ideas to elevate your brownie experience.
Classic Serving Ideas
- With Ice Cream: One of the simplest yet most indulgent ways to enjoy your brownies is by serving them warm with a scoop of vanilla ice cream. The contrast between the fudgy brownie and the creamy ice cream creates a heavenly dessert experience.
- Drizzled with Caramel or Chocolate Sauce: Adding a drizzle of caramel or chocolate sauce on top of your brownies can take them to the next level. This extra layer of sweetness complements the rich chocolate flavor and adds an appealing visual touch.
- Topped with Whipped Cream: For a lighter option, consider adding a dollop of whipped cream. Not only does this add a lovely texture, but it also balances the richness of the brownies, making for a refreshing treat.
Creative Variations
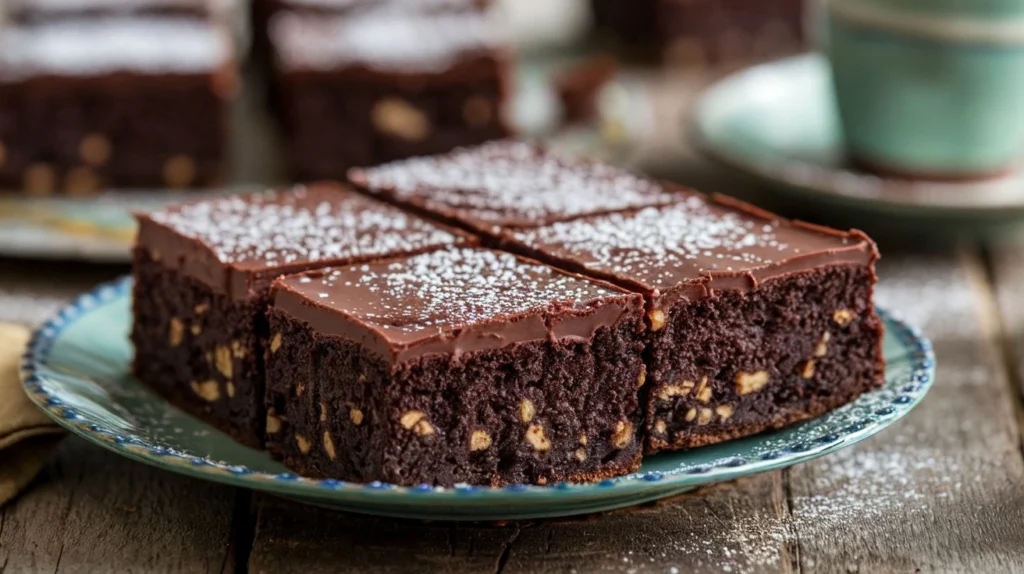
- Nutty Brownies: If you enjoy a bit of crunch, consider mixing in chopped nuts, such as walnuts or pecans, into the batter. This adds a delightful texture and enhances the overall flavor profile.
- Mint Chocolate Brownies: For a refreshing twist, incorporate mint extract into your batter. You can also add chocolate chips or chunks for an extra chocolatey kick. This variation is perfect for mint lovers and brings a unique flavor to the classic recipe.
- Peanut Butter Swirl: Adding swirls of peanut butter to your brownie batter creates a deliciously creamy contrast. Simply dollop spoonfuls of peanut butter on top of the batter before baking and use a knife to swirl it in.
- Espresso Brownies: For coffee aficionados, adding a shot of espresso or a tablespoon of instant coffee granules can enhance the chocolate flavor, giving your brownies a rich depth. This variation is perfect for those who enjoy a robust taste.
- Gluten-Free Option: If you or someone you know has dietary restrictions, consider using a gluten-free flour blend in place of all-purpose flour. This way, everyone can enjoy your delicious brownies without compromise.
Presentation Tips
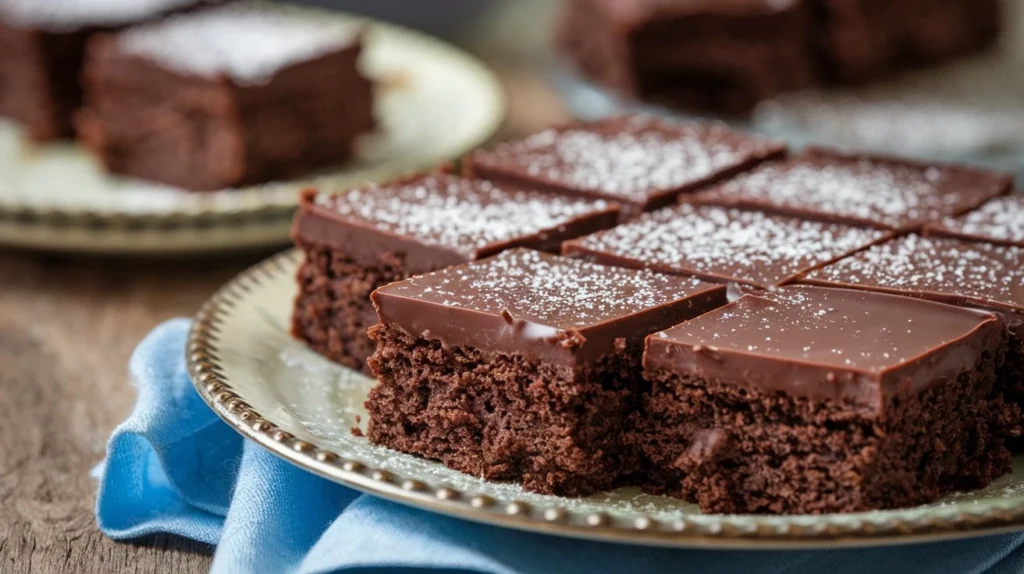
When it comes to serving, presentation can make a big impact. Consider cutting your brownies into fun shapes using cookie cutters, or arrange them on a decorative platter. Top with fresh berries or a dusting of powdered sugar for a nice finish.
By exploring these serving suggestions and variations, you can turn your lunch lady brownies into a delightful centerpiece for any occasion. Whether you keep it classic or get creative, each bite will remind you of the joy these treats bring, making them a favorite for both friends and family.
(FAQ)
As you dive into the world of lunch lady brownies, you may have some questions about baking, storing, or even customizing this beloved treat. Here are some common inquiries along with detailed answers to help you on your brownie-making journey.
1. Can I use different types of chocolate?
Absolutely! While classic lunch lady brownies often use cocoa powder, you can definitely experiment with different types of chocolate. For a richer flavor, consider adding melted dark chocolate to the batter. Just be sure to adjust your sugar levels accordingly, as dark chocolate can be less sweet than cocoa powder.
2. How do I store leftover brownies?
To keep your brownies fresh, put them in a sealed container at room temperature. They can stay good for about a week like this. If you want to save them for later, think about freezing them. Tightly wrap each brownie in plastic wrap and put them in a container safe for the freezer. When you’re ready to indulge, just let them thaw at room temperature.
3. Can I prepare these brownies in advance?
Yes! You can prepare the brownie batter a day in advance and refrigerate it. Just make sure to cover it tightly. When you’re ready to bake, allow the batter to come to room temperature for about 30 minutes before pouring it into the pan and baking. This ensures even baking and a great texture.
4. What if my brownies are too cakey?
If you find your brownies are more cake-like than fudgy, it may be due to overmixing or overbaking. For fudgy brownies, mix just until the ingredients are combined and check for doneness a few minutes before the recommended baking time is up. A toothpick should come out with a few moist crumbs but not wet batter.
5. Can I substitute ingredients for dietary restrictions?
Certainly! There are several substitutions you can make. For a gluten-free option, use a gluten-free flour mix instead of regular flour. If you’re looking to reduce sugar, consider using natural sweeteners like maple syrup or coconut sugar, though this may alter the texture slightly. For dairy-free brownies, substitute the butter with coconut oil or a vegan butter alternative.
6. How can I make these brownies richer in chocolate?
To amp up the chocolate flavor, you can add chocolate chips or chunks to the batter. Another option is to increase the amount of cocoa powder slightly. Just keep in mind that adding too much may affect the texture, so it’s best to adjust gradually.
7. Do you have any advice for cutting brownies cleanly?
For clean cuts, allow your brownies to cool completely before slicing. Using a sharp knife can help, and you might find it useful to dip the knife in hot water and wipe it dry between cuts. This method creates cleaner edges and a more appealing presentation.
By addressing these frequently asked questions, you’ll be equipped with the knowledge to make your lunch lady brownies a success. Whether you’re baking for yourself or sharing with others, these tips will help you navigate any challenges that arise along the way. Enjoy the process and the delicious results!
Conclusion
As you reflect on the journey of making lunch lady brownies, it’s clear that these treats are more than just a dessert—they’re a nostalgic connection to simpler times. From the gathering of essential ingredients to the step-by-step baking process, each aspect contributes to creating a delightful experience that evokes fond memories of school days and shared lunches.
By following the tips and variations outlined, you can personalize your brownies to suit your taste or dietary needs, ensuring that everyone can enjoy them. The creativity involved in adding different flavors or serving them in unique ways adds a special touch, making each batch a new adventure.
Whether you choose to savor them alone or share with friends and family, the joy of homemade brownies can bring people together. Each bite is an opportunity to relive those carefree moments of childhood while creating new memories in your kitchen.
So, as you embark on your next baking endeavor, remember that lunch lady brownies are about more than just the ingredients—they encapsulate the warmth of sharing, the joy of creating something delicious, and the sweet satisfaction of indulging in a timeless treat. Happy baking!